

© Seedoubleyou 2025
I have always been interested in animation but sadly lack the ability to draw.
The first animation software, I used over 20 years ago was StopGo, where I took a series of
photographs, click here to see this. This year, I found Tupi software and created an animation.
Click here to see it, then follow the instructions below to try creating your own animation.
A site for sharing the benefits of the Internet
Clare’s Creations
To get you started, I have included the first set of instructions on this page.
Use the quick links to open these and the other instructions in a separate window.
First you need to get a copy of the software on your device.
To do this, visit the Tupi site [www.tupitube.com]
and click on the downloads button.The screen shown should appear.
I chose desk as I will be using on a computer.
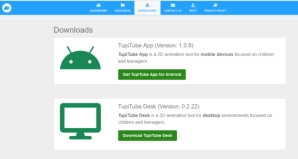
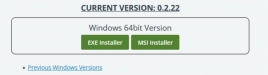
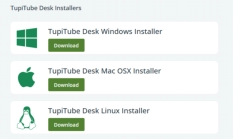
This offers a choice of operating systems, I chose Windows Installer.
Then EXE installer. Follow the prompts and
Tupitube will be installed on your device.
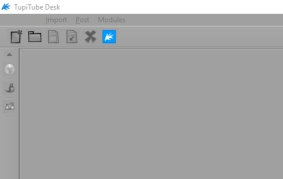
To open the software, click on the Tupitube icon.

The grey screen that opens is a little off puttingand certainly not intuitive.
I have just screenshot the top left hand corner, where the various tool are.
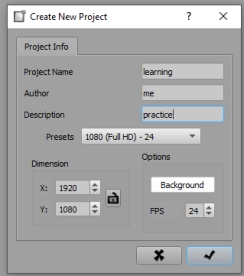
From the File menu, choose New Project.
I changed the information in the Project Name,
Author and description boxes as shown. You can do
the same or leave as default.
At this stage, I suggest you do not change anything
else.
Next, click on the tick as shown by the green arrow.
QUICK LINKS
3. Adding Frames and a Shape